
Simple blog on Jekyll with free hosting on GitHub
Have you ever thought about the possibility of making a blog quickly and with no pyments at all, even for hosting. Well, nowadays with all these new services we can do so much more. And in this post Im going to tell you about this possibility with GitHub and Jekyll. If you work in IT you probably know about Git and GitHub where you can store your code and track all the changes you have implemented to it. But not everyone knows that GitHub also allows you to host your site and veiw it like a normal one. It’s called GitHub Pages.
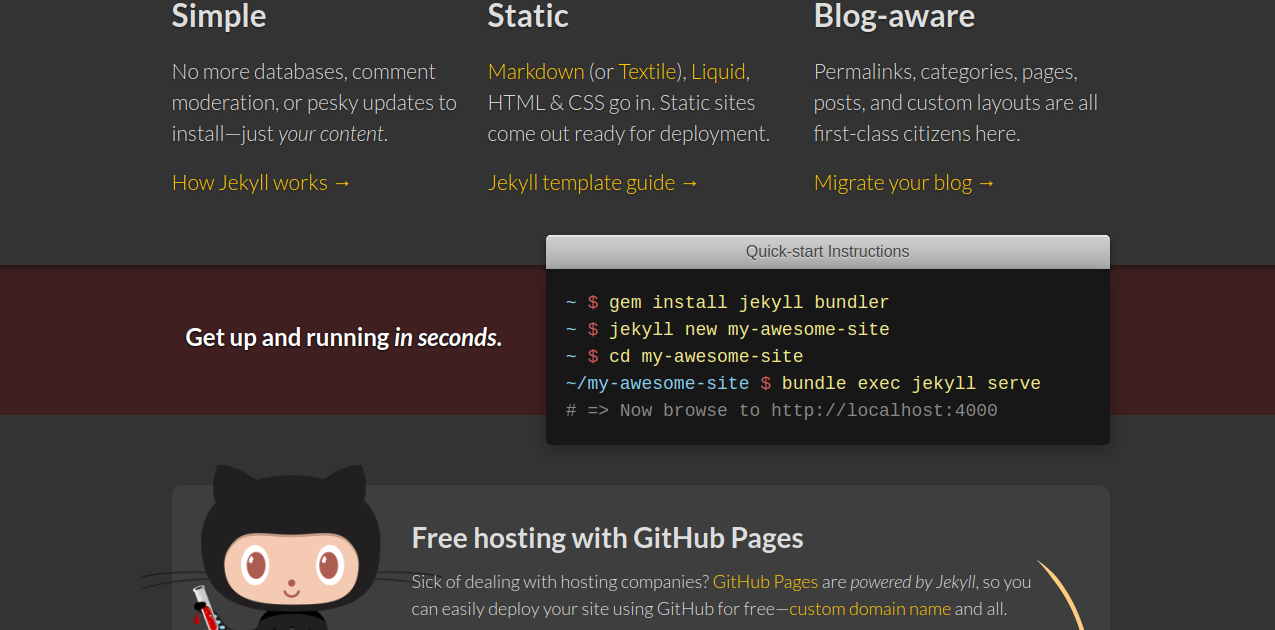
Seems like now we have a solution. But there is one problem: you can’t use a database on GitHub Pages. But here’s why I love IT community and “problem-solving” type of thinking - sooner or later there will be a way around. This time GitHub programmers solved this problem themselvs creating Jekyll - a Ruby gem that can make a blog out of static html elements. And don’t be scared by Ruby language, you don’t need to know it to work with Jekyll. Its so simple that even a no-it guy could figure it out. You can find more information about Jekyll on their official website.
Lets make it by steps
First of all you need to install Ruby environment. If you don’t know weather it is already in your system or not, try to check the version by typing this command in the terminal:
ruby -version
If there’s no info, then install it by this command (For Linux):
sudo apt-get install ruby-full
There are other ways to install ruby for different systems. Check this site for more info
Second step is to install jekyll. It is a so-called ruby gem (like a module in Node JS). You can do it by this command:
gem install jekyll bundler
jekyll new name-of-you-project
cd name-of-you-project
Now you have Jekyll project ready. All main configurations are in _config.yml file. If you want to see how does the default theme look you can run a local server. Jekyll aready has all the settings for that. Simply type this command in the terminal
jekyll serve
Now you can open your site here http://127.0.0.1:4000/name-of-your-project/. You can also find the project name in _config.yml. If you’re too lazy to deal with front-end building process from scratch, you have a wonderful option to download a ready-to-use theme on JekyllThemes.org. Here you can choose from dozens of designs and change the parts that you don’t like later.
After figuring out the common structure of jekyll theme folder you are ready to put it to the GItHub. I suppose you already have an account there. So, first of all, you need to make a local adding to the GIT system:
git add .
//adds all the files to GIT
git commit -m "your comment for this commit"
//fixates the current condition of your code
Now make a new repository on GitHub and copy a link to it
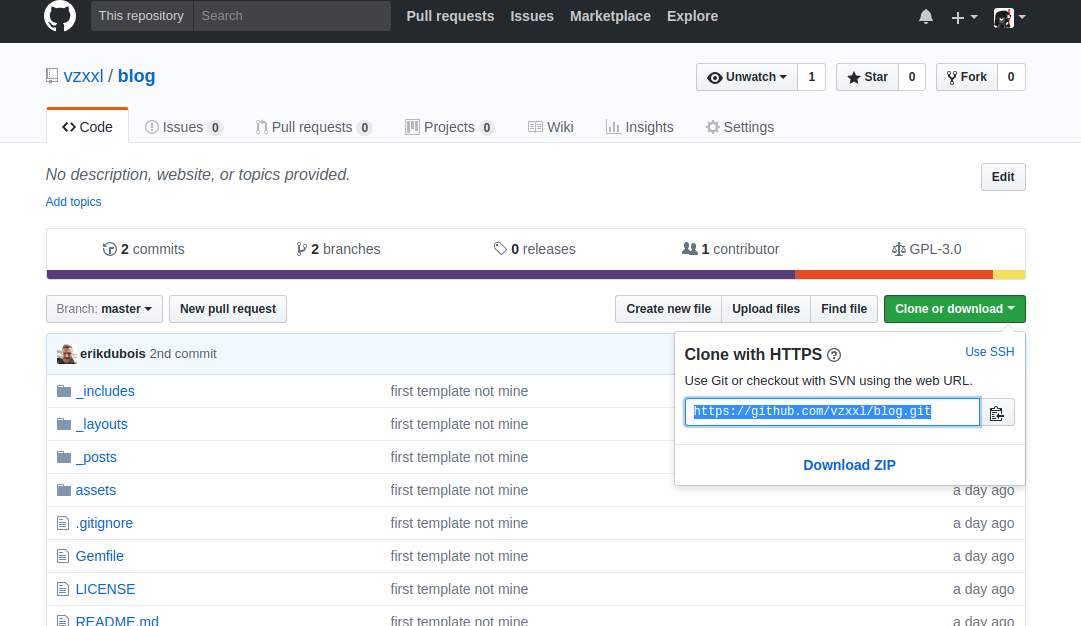
Now you can send your code and files to GitHub:
git remote add origin your-link-to-the-repository
git remote -v
git push origin master
We are almost there. We have our code and files on GitHub in master branch. But actually we need it to be in gh-pages branch. So few other commands needed:
git branch gh-pages
git push origin gh-pages
So that’s it. You have your blog hosted on GitHub. Be ready to wait for some time since it takes a while to update the information for GitHub. Some people say it can take few hours. In my case it was just few minutes. You can find your site on your-github-nickname.github.io/name-of-your-repository
Enjoy blogging!